Graduate Gift Card Holder

I used the #133161 Geometrical stamp set.

Check out the tassle...I used goldenrod embroidery thread to
make it and attached it with a #121003 glimmer brad.

Here it is...gift card inserted and ready to go!
The finished card measures 4" x 4".
Directions:
- You will need a piece of 11" x 5 1/2" piece of Basic Black card stock. Score at the 5 1/2" mark, on the 11" side.
- Next you will need to put the #125586 Diagonal Plate on your #126192 Simply Scored Scoring Board. Score diagonally on 2 3/4" mark, on the 11" side (long side). Flip the card stock over and do the same for the other 11" side. Your card stock will have a big 'X' scored in the middle.
- Keep the Diagonal Plate on your Simply Scored Scoring Board. Score diagonally on the 8 1/4" mark, on the 11" side. Flip the card stock over and do the same for the other 11" side. Rotate the card stock 180 degrees and do the same for the other end and then flip and score once more, so that each of the FOUR corners has a diagonal score line.
- On the right side of the card, cut off both corners on the diagonal along the score lines.
- Now you can fold the card stock along the score lines
- Fold the two bottom triangles in. These triangles will form a pocket.
- Cut a 3 7/8" x 3 7/8" square of Basic Black Card Stock. Cut the square in half on the diagonal.
- Use #110755 Tombow on top of the folded triangles and attach one of the 3 7/8" triangles.
- Pierce the center of the card stock that will become the top of the cap and place a black glimmer brad in the hole.
- To make the white triangle, cut a 3 1/2" square. Cut the square in half on the diagonal.
For the tassle:

I took a piece of cardboard 3 1/2" long and
wrapped several strands of embroidery floss around it.

Then I removed the cardboard and tied a knot in the middle.

Next I took another piece of floss 8" and ran it through the middle
tied a knot at the top.

I then folded the wrapped thread in half and tied another piece of
floss around all of the floss.
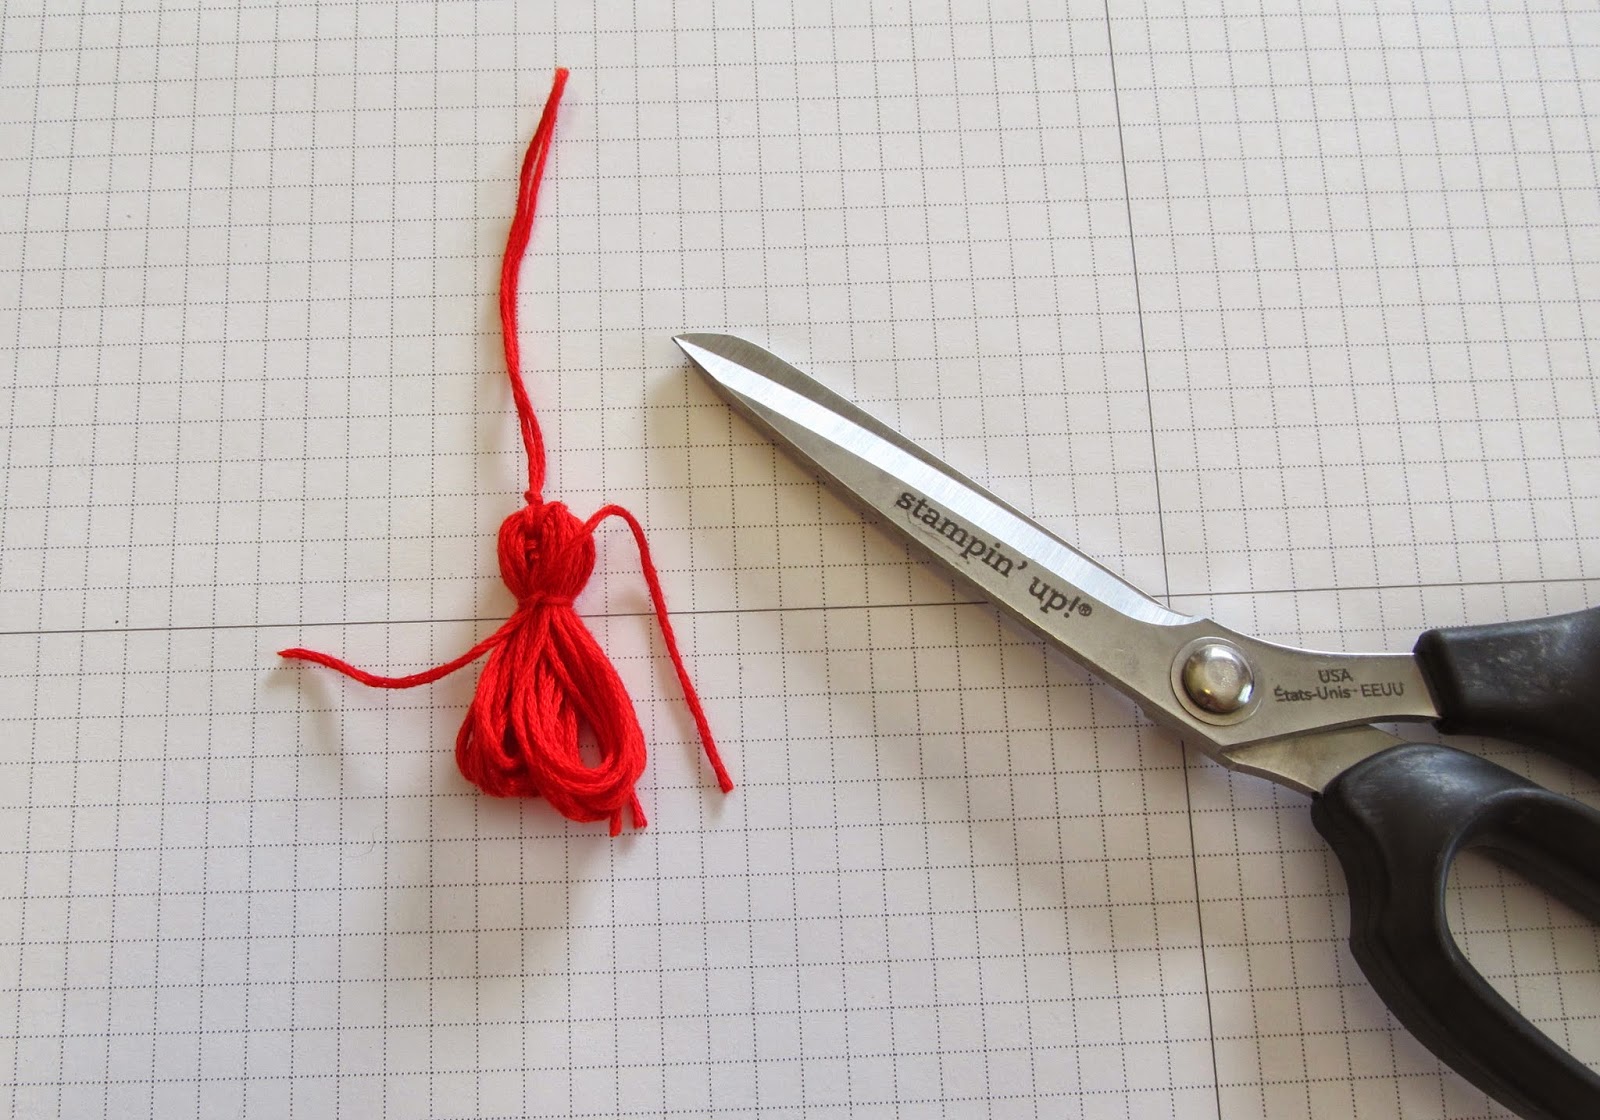
I used the #108360 Craft Scissors to cut the ends of the tassle.

Ta-Da! here is the tassle...ready to be attached to the brad.
Hope you enjoy...thanks for stopping by!
Carolyn:o)
No comments:
Post a Comment