Thursday, February 20, 2014

Happy Thursday!

I can't believe how fast this week has gone by. So here is something I thought you might like.


A bright and cheery card...especially since tomorrow is Friday! These are a few of my favs #126642 Happy Hour stamp set and the #126902 Polka Dot Parade DSP. You could do set of cards with all the different glasses and papers.

Hope you enjoy...thanks for stopping by!

Carolyn:o)


Sunday, February 16, 2014

My Valentine's

I hope your Valentine's Day was filled with love! I think it is a great reminder to let the people around you know what they mean to you...
my family means everything to me.


Hunter and Jadon couldn't wait to dig into their cookies 
from the Cookie Bouquet...YUM!

Hope you enjoy...thanks for stopping by!

Carolyn:o)

Friday, February 14, 2014

Happy Valentine's Day!

More Valentine Treats!

Just wanted to post some goodies I am taking to work for all the girls.


 My newest additions are the Monster and pizza boxes.


The Monster box is Stampin' Up's Valentine's which I posted Jan. 14. I made a box and attached the Monster Valentine to it. What a super cute and a fun treat to hand out.

#132163  Girl Monster Hugs  $5.95
#132162  Boy Monster Hugs  $5.95


Actual Size: 2 1/2" x 3"


So here is Mr. & Mrs. Monster ready to celebrate Valentine's Day!

 To make the box you will need a piece of cardstock that is 4" x 4-3/8".
  1. With the 4" side at the top of the cutter, score down at 1-1/2" and 2-1/2".
  2. With the 4-3/8" side at the top of the cutter, score down at 1" and 3-3/8".
  3. Cut the middle score lines to create tabs.
  4. Assemble the box using Sticky Strip.
  5. Line the top of box with Sticky Strip. Adhere Monster Hug valentine to the box.


Next is the pizza box. I added some Valentine paper and embellished with #125596 Fashionable Hearts Embosslit, #132153 Label Bracket punch and #133480 Circle Card Thinlit Die.
 

I filled it with some shred (Dollar Store) and yummy treats!

Hope you enjoy...thanks for stopping by!


Carolyn:o)

Wednesday, February 12, 2014

Simple Valentine

Hello! I wanted to share this sweet and simple Valentine card. I love the colors and simplicity of it.


The #125596 Fashionable Hearts Embosslit, #129383 Needlepoint Border Embossing Folder and #132153 Label Bracket punch were used to make this card.


Hope you enjoy...thanks for stopping by!


Carolyn:o)

Tuesday, February 11, 2014

Sweet Treats

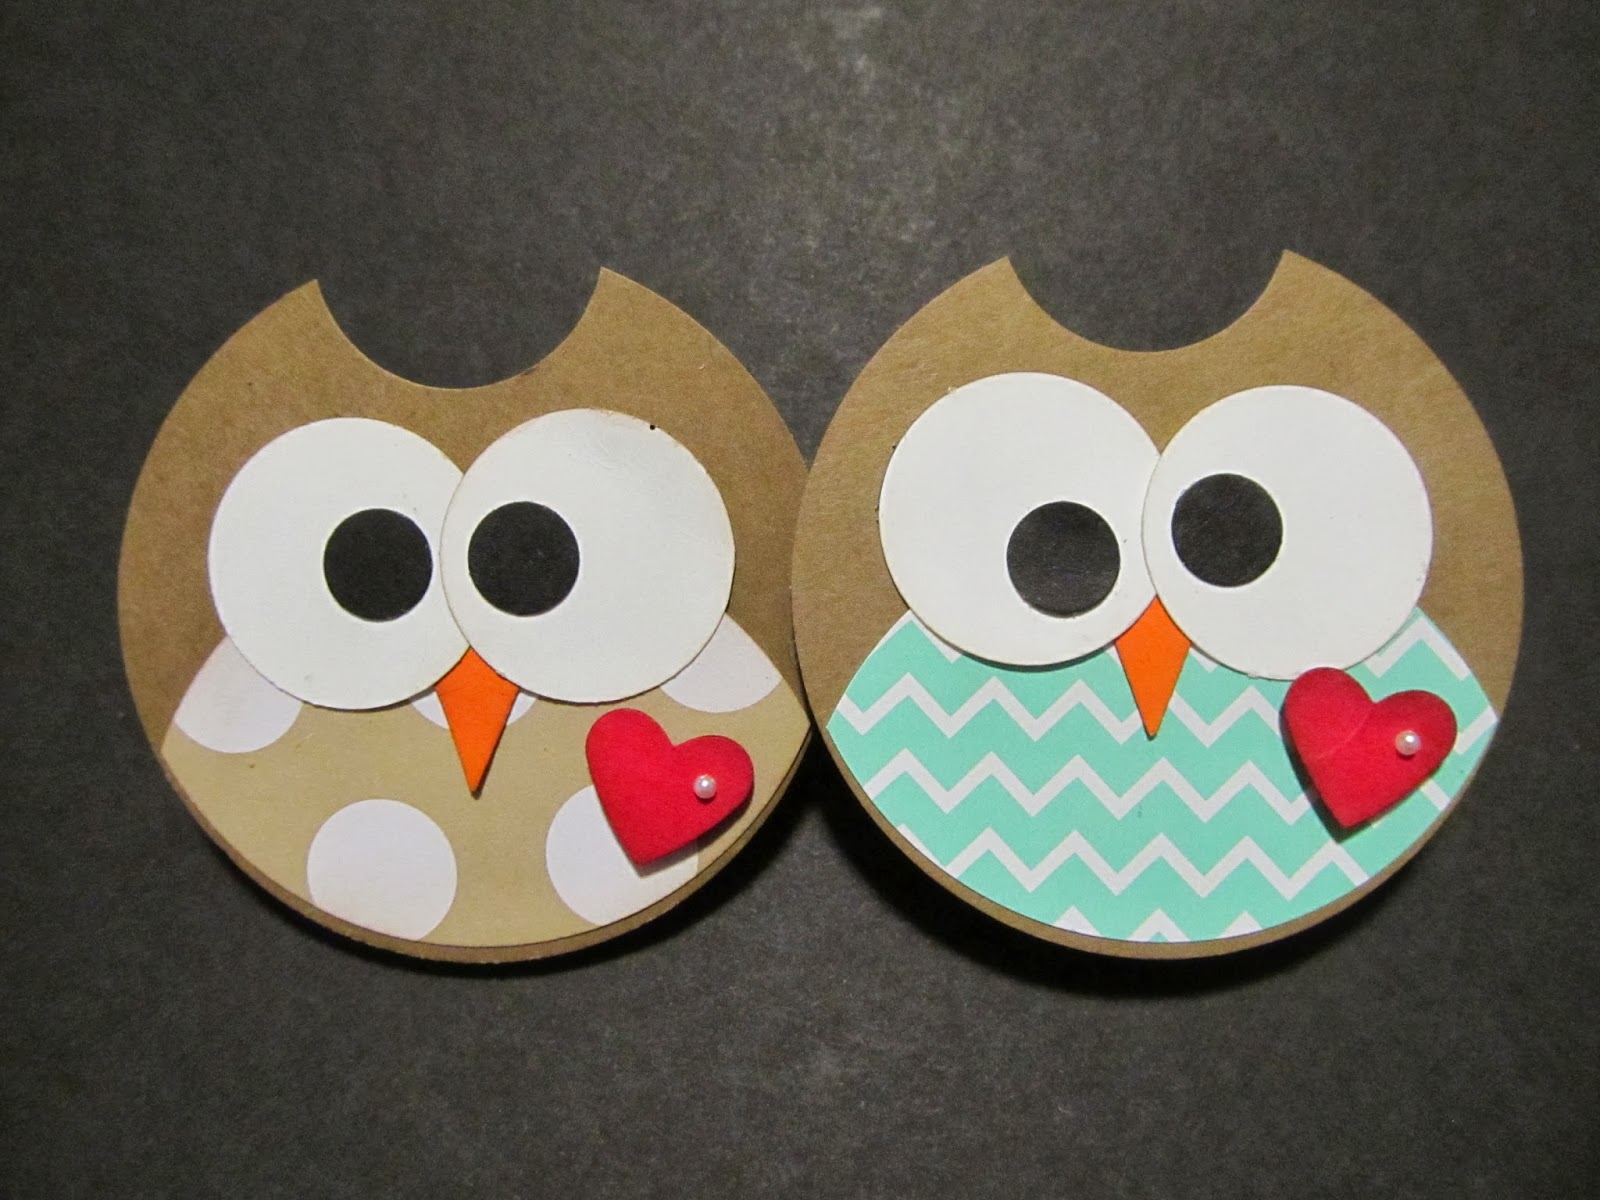
Are you ready for Valentine's Day? I hope I am...these are a few treats I made over the weekend. I love making treat boxes. So when I saw Becky Roberts file folder treats I had to make them! I added M&M's and Valentine candy corn to our #102757 cellophane bag and attached the Valentine tags I posted on February 1.


File Folder Treat Holder


The measurement for the cardstock is 3" x 5". Score at 2-1/4" and 2-1/2". The Designer Series Paper is 2-1/4" x 3". 


 Here is my template.


Attach your Designer Series Paper (DSP) with adhesive on the smaller side. DSP should line up with score line.


Using the #133774 envelope punch board you will line up cardstock right in the middle and punch.

Slide cardstock to the left and line up at the 2" marker and punch.

Turn your card to the opposite side and repeat the process.


Once you are done your piece will look like this.

 Take your scissors and cut off the small tab on each side.


Fold on the score lines and ta-da! Your folder is complete. 


You will then stamp a saying on the tab, insert treat, wrap twine around the folder and attach punch art with a glue dot.


Valentine Tag


I used the #129983 Chalk Talk Framelit, #132153 Label Bracket Punch, #131820 Tags 4 You stamp set and #132996 Fresh Prints DSP to create this tag. Then I added some Hershey Nuggets to our #102757 cellophane bag...YUM!!! TIP: I placed the chalk talk framelit at an angle to have the lines going in a diagonal direction on the tag.
 
Hope you enjoy...thanks for stopping by!
 
Carolyn:o)

Monday, February 10, 2014

Re-Make

Hello! It's a soggy day here...definitely a baseball cap day. I spent my weekend working on Valentine treats. I will post pics tomorrow. Today, I wanted to show you how I re-made my treat bag into a card.


Love You...to the Moon and Back Bag


Love You...to the Moon and Back Card


The treat bag was larger so I adjusted the length of the banners to fit the card and changed the patterns of the papers I used.


Hope you enjoy...thanks for stopping by!

Carolyn:o)

Friday, February 7, 2014

Oh, Happy Day!

I have some gReAt news this morning. Stampin' Up is bringing back our very popular #129977 Gift Bow Bigz L Die from the holiday catalog...Woo Hoo! I love this die...it's a must have!

It's Back!
 

Do you remember these super cute projects? 
They were made with the Gift Bow Die.


So I thought it would be fitting to show you all this fantastic card
I CASED from Amy O'Neill.


The colors and patterns all work well together! #132967 Starburst Bundle was used to create this card along with #132996 Fresh Prints DSP and the #132154 Chevron Border Punch.

Hope you enjoy...thanks for stopping by!

Carolyn:o)

Monday, February 3, 2014

Santa's Gift!

I must have been a very good girl because Santa brought me a Silhouette for Christmas...Woo Hoo! Last week my friend Mary came over and showed me, Shelby and Lori how to use the Silhouette and all I can say is AWESOME! I totally tapped into my creative side. So here is my first project.


The #132996 Fresh Prints DSP is one of my favorite paper pack. What a great color combo!


Organizing 

I wanted to show you some of my organizing in my craft room.


I got these plastic bins at the container store and they are perfect for storing paper. I labeled plastic dividers (Cropper Hopper) according to Stampin' Up's color collections with my trusty dymo label maker.


I took most of my framelits and put them in #119105 Clear Mount Stamp Cases and added a magnetic sheet to keep them in place. 
I labeled the cases and put the number of framelits at the bottom 
so I don't have any missing framelits.


I store them in a DVD shelf along with my stamp sets.


This is one of my embellishment units. I love lots of color and variety...it stirs my creativity! I also found that if you see what you have you are more likely to use it.


This weekend I was at IKEA and purchased this FANTABULOUS rolling cart. I can't wait to fill it with more product!

Hope you enjoy...thanks for stopping by!
 
Carolyn:o)

Sunday, February 2, 2014

Owl be your Valentine!

hEllO! i hOpe yOu aLL hAd a gReAt wEEkEnd. i sPeNt mY suNdaY oRgaNiziNg mY cRaFt rOOm...aNd it's lOOkin' pRettY gOoD. i waNteD tO poSt sOmE oF mY faVoRitE liTtLe OwLs i liKe tO mAkE.

OwL bE yOuR VaLeNtiNe!


On the back of the owls I wrapped a Hershey nugget 
in DSP and attached each with a glue dot.


  To make these Valentines you will need #119868 1” Circle punch for the eyes and the top of the head, #118309 Itty Bitty Shapes punch pack (circle) for the pupils, #120906 2 ½” Circle punch for the body, #122361 Petite Pennants punch for the beak and #117193 Small Heart punch.

hoPe yOu eNjOy...tHanKs fOr sTopPinG bY!
 
caRoLyn:o)
 
·        

Saturday, February 1, 2014

It's February 1st!

Hello! Valentine's Day is just around the corner and I wanted to start off this month with a very simple sweet treat.

Valentine Tag


I used the #129983 Chalk Talk Framelit, #132153 Label Bracket Punch, #131820 Tags 4 You stamp set and #132996 Fresh Prints DSP to create this tag. Then I added some Hershey Nuggets to our #102757 cellophane bag...YUM!!! TIP: I placed the chalk talk framelit at an angle to have the lines going in a diagonal direction on the tag.

Hope you enjoy...thanks for stopping by!
 
Carolyn:o)